FullSizeRender (2)
The dunes of my childhood where sassafras grows in abundance.

While on a trail run through the dunes of Hoffmaster State Park this summer I realized that there is no other smell reminiscent of my West Michigan lakeshore upbringing than sassafras. That aromatic, spicy rootbeer fragrance of the sassafras floats on the breeze in the dew of the morning or after a wet, damp rain. It is one of those smells that truly defines my life.

You can imagine my delight when forager friend Sam Thayer recommended me to host a Minneapolis-based film crew to learn all about sassafras for their “How To Make Everything: Rootbeer” segment! I enjoyed taking the crew through the dunes woods of my childhood stomping grounds to gather the sassafras roots for their project. Check out our final segment on sassafras HERE.

Though it is fall and the leaves are rapidly falling from the trees, it isn’t to late to gather a few saplings to make a late fall batch of rootbeer! Want to make your own local rootbeer? Read more…

A Mitten Gal’s Sassafras Rootbeer 

Sassafras albidumSassafras is common along trails and beach areas and makes a delightful tea and culinary spice. Sassafras is a small deciduous tree that grows to heights of up to 60 feet or more in optimum conditions. It commonly has mitten-shaped, three-lobed and un-lobed leaves. Its bark is a rough and reddish brown, the aromatic roots range in color from white to reddish brown. The roots of a small sapling can be gathered in the spring or fall. Wash, chop, and completely dry them.

Here’s what you’ll need to make a simple syrup with sassafras and other woodland herbs for a refreshing batch of rootbeer soda pop.

Ingredients:

  • 1/2 cup chopped roots of sassafras**
  • 1/4 cup burdock root*
  • 1/4 cup sarsaparilla*
  • 1 tbsp dry hops*
  • 1tsp juniper berries*
  • 10 wintergreen leaves*
  • 1 tsp dry ginger root*
  • 1 tsp spicebush berries (optional)*
  • 4 cups water
  • 4 cups MICHIGAN maple syrup

Directions:

  • Simmer herbs in a pot with 4 cups boiling water for 5 minutes, covered to retain volatile oils.
  • Strain
  • Stir in maple syrup, let cool
  • Add 1 part sassafras simple syrup mixture to 2 parts club soda and serve over ice or with vanilla ice cream
  • Sassafras simple syrup can be stored in the fridge for up to 3 weeks

*Some herbs can be gathered by hand from the wild, procured from your local health food store or ordered online. I like Mountain Rose Herbs as an online supplier for organic herbs. To learn more about sassafras or other herbs mentioned in this recipe? Check out my book, “Midwest Foraging.”

Super stoked for tonite’s Spring Celebration in honor of The Edible Schoolyard Project. I can’t believe it’s been 20 years since I worked there for the 2000-2001 school year (Look at those #TBT pics — just beginning my delicious journey of a career)!

Tonite’s event has a power-team at the helm – including chef Alice Waters, climate activist Jane Fonda, Josh Groban, chef Jose Andres- and together with many others, we are raising funds to expand regenerative #farming #education to kids and educators across the country.

Join in elevating the cause! Donate today!

#socialjustice #fairfood #localfood #healthykids #food #socialchange #socialdeterminantsofhealth #nonprofit #philanthropy #fundraising

If there was one good thing that emerged from 2020, herb and vegetable gardens are now part of our everyday lives. From small container gardens to full-scale urban mini-farms, many of us planted new – or expanded – our gardens and edible landscaping.

Haven’t yet jumped on this new trend? It isn’t too late to start!

Kitchen herbs and vegetables can be easily integrated into a current garden plan if you already do have a garden or yard.

Short on space? Herbs and veggies can be easily grown in containers on the patio and in the windowsill if you are an apartment dweller or lack growing space. And even when the snow’s soon to fall, many herbal containers can survive indoors with the proper care.

There are many places a beginning gardener can turn for growing herbal garden inspiration.

For eye-candy, perusing Instagram and Pinterest can get the creative juices flowing and even can get the most gun-shy gardener to try starting seeds indoors for springtime planting. Pinterest also is a great way to create both garden design boards and collect herbal recipes for your seasonal harvest!

These can also be a great starting place to learn the varieties of herbs, and maybe pick out a few seeds to start for spring transplants.

A few good catalog resources that offer a wide variety of hybrids, heirloom and non-GMO seeds include Johnny’s Select Seeds and Seeds of Change. One of my new favorites is Hudson Valley Seed Co – not only are they a small grower of the Great Lakes, they are doing amazing things with the art of their seed packets!

West Michigan is home to the largest horticulture industry in the country, boasting an abundance of wholesale and retail greenhouses. In the Greater Grand Rapids area there are many favorite greenhouses open in early spring where a gardener can stroll the greenhouses and shop for spring transplants, as well as gain expert advice from staff on growing tips.

Farmers markets are also sources of locally-grown herbs and vegetables, with most arriving as early as late April with transplants. Gardeners can peruse the aisles of the market for fresh fruits and vegetables while picking up herbs for their gardens. It’s a great way for the gardener to make that personal connection to the farmer that grows their food.

And once you get growing, let’s freshen up our menus with recipes that blend traditional herb flavors with new twists. So, grab your clippers and head into the garden to freshen up your culinary skills – and together let us make it a goal for 2021 to “remerge” with an entirely new portfolio of flavors and favorites.


As an anthropologist, culture is a central theme to all aspects of my personal and professional life. As a writer, I believe in the power of a collective narrative and how we can shape it to drive societal change. I believe we are the storytellers that can help shift the story, and shift the world.

On the other side of Covid, what will our cultures “value” on the other side of this pandemic? How can the way in which we have had to re-organize and re-work to accomodate the constraints of Covid re-create organizational cultures – business, govt, education, arts, religion – that are more equitable?

Will our cultures prioritize transparency, shared accountability, and equitable access to power/resources/decision-making?

Will our cultures continue to empower economies that extract natural and human resources at a rate that exceeds the earth’s ability to replenish/restore, or will there be an intentional shift to regenerative, regional economies?

Will cultural narratives based on “fear” and “scarcity” be put to rest so we can see clearly that we live in a world of abundance? That we humans are the ones that cause that fear and scarcity, and its we humans that can end that with Covid?

We can re-write our future together and create a new narrative. Question is, will we?

#StorytellingForChange #IDEOU #Coach


Michigan Maple Fleur de Sel Caramels 

What’s more delicious that home-boiled maple syrup fresh from the sugar shack? A fleur de sel caramel made with said maple syrup, of course!

These classic French-style caramels are styled similarly to a Fleur de Sel caramel. The use of maple syrup in lieu of the commonly-used corn syrup will require close monitoring as the mixture reaches 248 degrees, but results in a much more balanced vanilla flavor that’s worth the effort managing the viscosity.

IMG_1287

Ingredients: 

1 cup heavy cream

5 tablespoons unsalted butter, cut into pieces, room temperature

1 teaspoon fleur de sel

1 1/2 cups sugar

1/2 cup maple syrup

Parchment paper, baking sheet or pan and a candy thermometer

1) Prepare pan with parchment, oil slightly – the caramel making process is a sticky one.

2) Bring cream, butter and fleur de sel to a boil in a small saucepan, then remove from heat and set aside.

3) Boil syrup,  sugar in a large saucepan, dissolving sugar and gentle stirring until syrup comes up to a boil.

3) Stir in cream, stir constantly and simmer until the candy thermometer reaches 248 degrees.

4) Pour caramel mixture into the prepared sheet, let cool.

5) Cut into strips or bite size candies, wrapping them in pieces of cut parchment, twisting ends.

6) Caramels store in a cool location for up to two weeks.

IMG_1283


Want to learn more? Click HERE  to go to WZZM13 to learn how Maple Syrup is made or visit my other posts on the blog HERE to learn about the syruping process. For more on foraging wild foods and other wild edibles, check out my book, Midwest Foraging.

Midwest Foraging


You know the scene. It’s 4 a.m. You wake up, chilled and feverish. In denial, you toss and turn, hoping that you haven’t caught that cold going around the office. Instead of ignoring the symptoms, reach for this homemade elderberry elixir.

Medical research has shown that taking an elderberry-based tincture within the first 48 hours of a virus’ onset can shorten the duration of symptoms by as much as four days.

Keep a stockpile of this syrup on hand for whenever illness strikes. It tastes way better than the cherry-flavored stuff, it’s all natural, and in under an hour you can make a batch large enough to keep you and your family healthy all winter long.

Want local elderberry syrup? Shop my apothecary for my foraged chaga elderberry blend.

Or if you’re too sick to make a bottle, there are store-bought versions like Urban Moonshine’s Herbal Immune Zoom that are quite nice, too.

DIY Elderberry Elixir

Makes 1 quart

1 cups dry or fresh elderberries**
2 cups water
2 tablespoons fresh ginger, peeled and chopped
1 cup 40 percent alcohol
1 cup raw local honey
1 quart size canning jar
Small bottles for dispensing

1. In a large saucepan, combine the water, elderberries, ginger. Bring to a boil, reduce heat, then simmer for 20 minutes. Press and strain elderberry-ginger mixture into a quart-size canning jar. Stir in 1 cup honey and 1 cup alcohol to preserve the mixture. Shake well to mix. Divide into smaller containers, if you like. The elderberry elixir will keep in the refrigerator for 6 months.

2. At the first signs of a cold or flu, take 2 tablespoons of elderberry every hour for up to 5 days.

Elderberry (Sambucus nigra) is abundant across North American, and its berries can be foraged from the wild across much of the United States. No time for foraging? Order dry elderberries online from reputable herbal sources like Mountain Rose Herbs, or choose to buy local from an herbalist in your area.

Want to wildcraft your own berries? Order my newest book, “Midwest Medicinal Plants” to learn how to ID and wildcraft the plant yourself!

137_AZ_Mulberry_1_Fruit_LRSI remember growing up in my mother’s garden: Tall stalks of corn, overgrown zucchini bushes, large heads of cabbages — all part of the bounty grown for our dinner table. My mother canned and made preserves from our seasonal bounty, but we also had wild foods as part of our seasonal harvests.

The wild grapes lining the backyard fence were turned into jellies and canned juice. Morel mushrooms in the spring were added to eggs and pasta. Feral apples were picked off the wild apple trees near our elementary school. Wild foods were also a part of my childhood.

As I think back, I remember more and more wild food memories. They don’t come to mind immediately, and perhaps that is because they just were a part of my childhood — nothing particularly fancy or romantic.

One wild food memory, though, stands out. It was the evening I made my first summer fruit pie in my college apartment.

It was a mulberry pie, with berries I gathered alone one hot, sweaty summer night on a sandy trail beachside near to my apartment after an evening run. The pie itself wouldn’t have won a medal at the state fair by any stretch— it was runny, the fruit filling not very thick, and the crust was lumpy. But you know what? To me, the pie was amazing. And perfect.  

The memory of it all embedded into my mind forever because it was such a sensual experience.

IMG_2479

As my culinary abilities grew, and I found myself looking to the trees, hedges, weeds for “unloved” plants for my teas and meals at my table. Dandelions, the violets, the nettles, the burdock, and even the garlic mustard became my friends.

Overtime, I learned to sense and anticipate the subtle changes in the seasons, almost like a sixth sense. Those dry days in June? Better check on the roses and the elderflowers — one round of summer thunderstorms could decimate the delicate blooms that I so love to dry for tea.  And nuts falling in the green gulch next to my kitchen window? Better harvest those walnuts before the squirrels do.

I feel so empowered with this ability to “read”  the wild world around me. And now, my own children are cultivating a deep plant relationship as they work alongside me in the garden and accompany me on hikes in the woods and fields – even along the sidewalks – to gather wild foods.

IMG_2473

Gathering Mulberries

The common mulberry (Morus spp.: Morus alba or Morus rubra) is one of the first berries of summer to harvest, as well as one of the  easiest berries to discover and gather for simple snacking or cooking, especially for the urban forager.

Compared to other summer fruits, the mulberry has a slightly unremarkable flavor — it isn’t very sweet, isn’t very tart, isn’t significantly jammy for the dark berry that it is. That said, perhaps it is the delight of encountering such an abundant berry – especially in the urban areas, where mulberry is a common ornamental. It is a nice, cooling berry to snack on while out on the trail or on a run as the summer warms up. Easy picking and easy snacking.

The mulberry is high in antioxidants, and can be gathered in large quantity, strained through a sieve and made into juice that can be then made into a cocktail syrup and flavored with other herbs like lemon balm, basil or even lemon verbena.

The mulberry harvest can be made into jam and fruit leather (again, running through a food mill to remove the more seedy bits and the fruit stemlets).  The mulberry can also be baked into a pie alone or mixed together with the first of the summer strawberries. If used alone, the fruit can be quite runny, so add in an appropriate thickener to make sure the pie is not too soupy.

The mulberry is often most noticed as a small tree, growing in heights of 25-30 feet (though it can grow to be as tall as 70!). Its young bark ranges from yellowish to orangish-brown, with scattered large white lenticels. Older bark is brown and ridged with an occasional glimpse of orange inner bark. If the roots should be unearth by erosion or contraction, they are distinctively orange.

The mulberry is abundant and a common plant. There’s not need to worry about future harvests, as the seeds are spread by the birds who also love the mulberry fruit. The mulberry also makes for an excellent edible landscape tree and fits well into a permaculture landscape design.

The white mulberry is a native of China, but is a common ornamental planting in gardens, courtyards, and municipal parks across the Midwest and is naturalized in some areas. The red mulberry is native and a common tree found at the edge of the woods, along trails, in partial sun and shade. Around summer solstice, the juicy fruits of the mulberry cause a nuisance of a mess wherever they fall; on the sidewalk and stoop, staining the pavement with their black juice.

The leaves of both species are alternate, simple, more or less heart-shaped and palmately veined with three main veins and rounded teeth along the edges. Both the white and red mulberry trees may have mitten-shaped leaves. The white mulberry leaves are dark and shiny on top and feel smooth. The red are not shiny, they feel rough. It’s fruits are longer, juicer and better tasting than the white.

The mulberry fruit is easy to gather.  Pick them by hand and place them into a bowl as the fruit is delicate and will not withstand being thrown into a bag or harvest basket. Note that the fruit will stain hands, bowl, clothing and can get stuck in the soles of your shoes. The berries do not have a long shelf life and should be eaten fresh or processed in the kitchen (removing stems, freezing), for later use as soon as possible.

Interested in learning more about wild plants as food and medicine? Take a look at my books, “Midwest Medicinal Plants,” and “Midwest Foraging” (Timber Press, OR) – both available on Amazon.com.

10290707_10203707683786290_388021351757862712_n

Weather’s changing. Glad for a warm hearth, food on my stove and a pantry & apothecary full of ways to keep me & my family healthy this winter. Counting my blessings.

With the cold, damp weather upon us, one of my most favorite warming drinks is Chai. I like my chai so many different ways — with boiled coffee, with Lapsang Seuchong tea for a nice smoky flavor. With good, rich raw organic milk and honey.

My chai is a basic Masala Chai and varies depending on my mood or what I have on hand.  Masala means blend, and that makes me feel good about never really being strict on what goes into the pot. It allows me to tailor it as I wish.

Chai, on the whole, is a wonderful beverage that can help move circulation to the fingers and toes. It is perfect for this time of year once the weather turns colder. If you are headed outside, drink Chai when you come back in to quickly warm up those extremities. As someone who is chronically cold, this is a great way to warm up (that, and making sure I get enough fats in my diet!!).

Funny enough, I never had many warming aromatic spicy drinks in my house growing up as a child. I don’t ever remember having ginger in the house or chilies … and gosh, maybe never even fresh garlic, now that I think of it. Ah, life as a caucasian child in West Michigan in the 80s… These are all herbs I’ve come to appreciate from my own culinary and herbal learnings as an adult. But I digress. That’s all for another post.

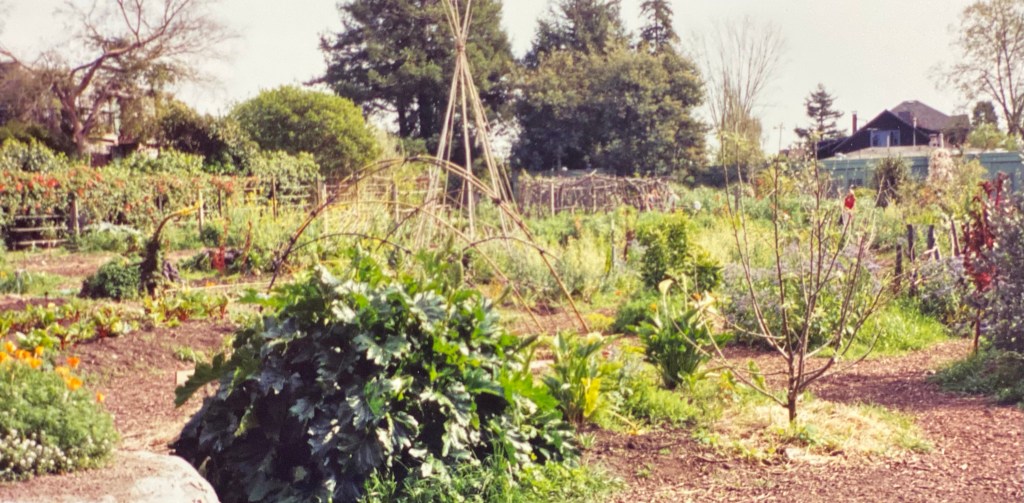
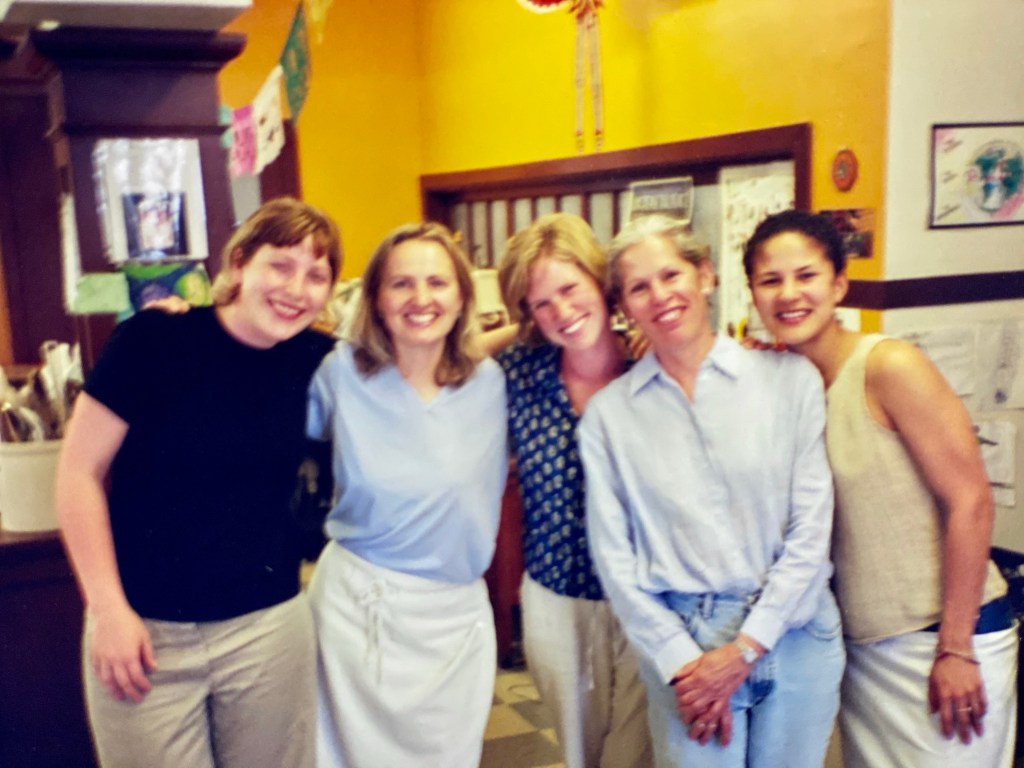
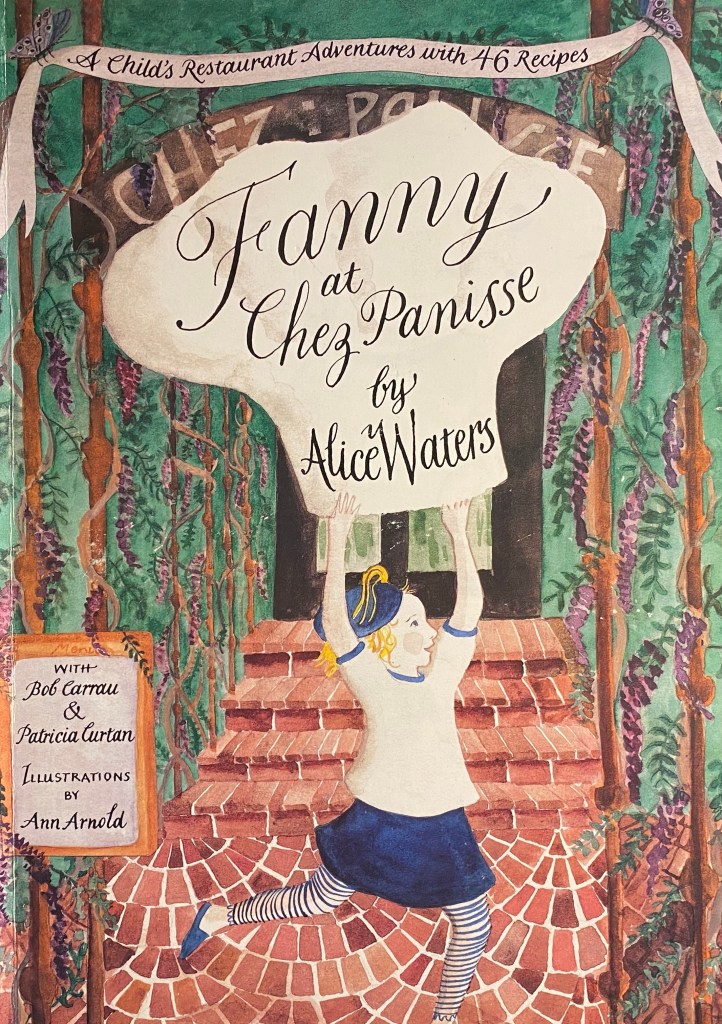
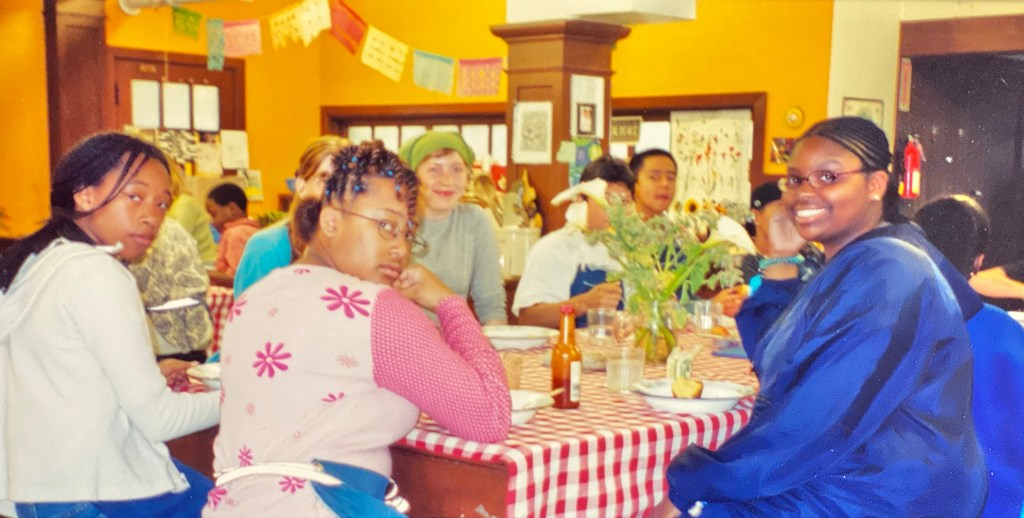
It wasn’t until I moved out to the San Francisco Bay Area that really began drinking Chai (REAL chai — not the stuff in the box that became popular in the late 90s). I learned how to first make chai while volunteering at Alice Water’s Edible Schoolyard in Berkeley… and somewhere I have that recipe that will serve 30.  I’ve adapted that recipe over the past 12 years (below), and now I can easily make just a pot of chai on the stove for myself while working at home or for visiting friends and clients.  You will find my recipe is written in a way that it can be easily scaled for any size group.

Making Chai Magical with Chaga. One of the most delicious ingredients I’ve been adding to my chai lately (as well to coffee, soups, bone broths, and sauces) is Chaga mushroom. Chaga (Inonotus obliquus) is a parasitic fungus that grows out of the wounds of birch trees (Betula spp). It grows across the northern hemisphere in forests with the Birch tree, and can be found here in the woods of the Great Lakes where the birch trees are plentiful.

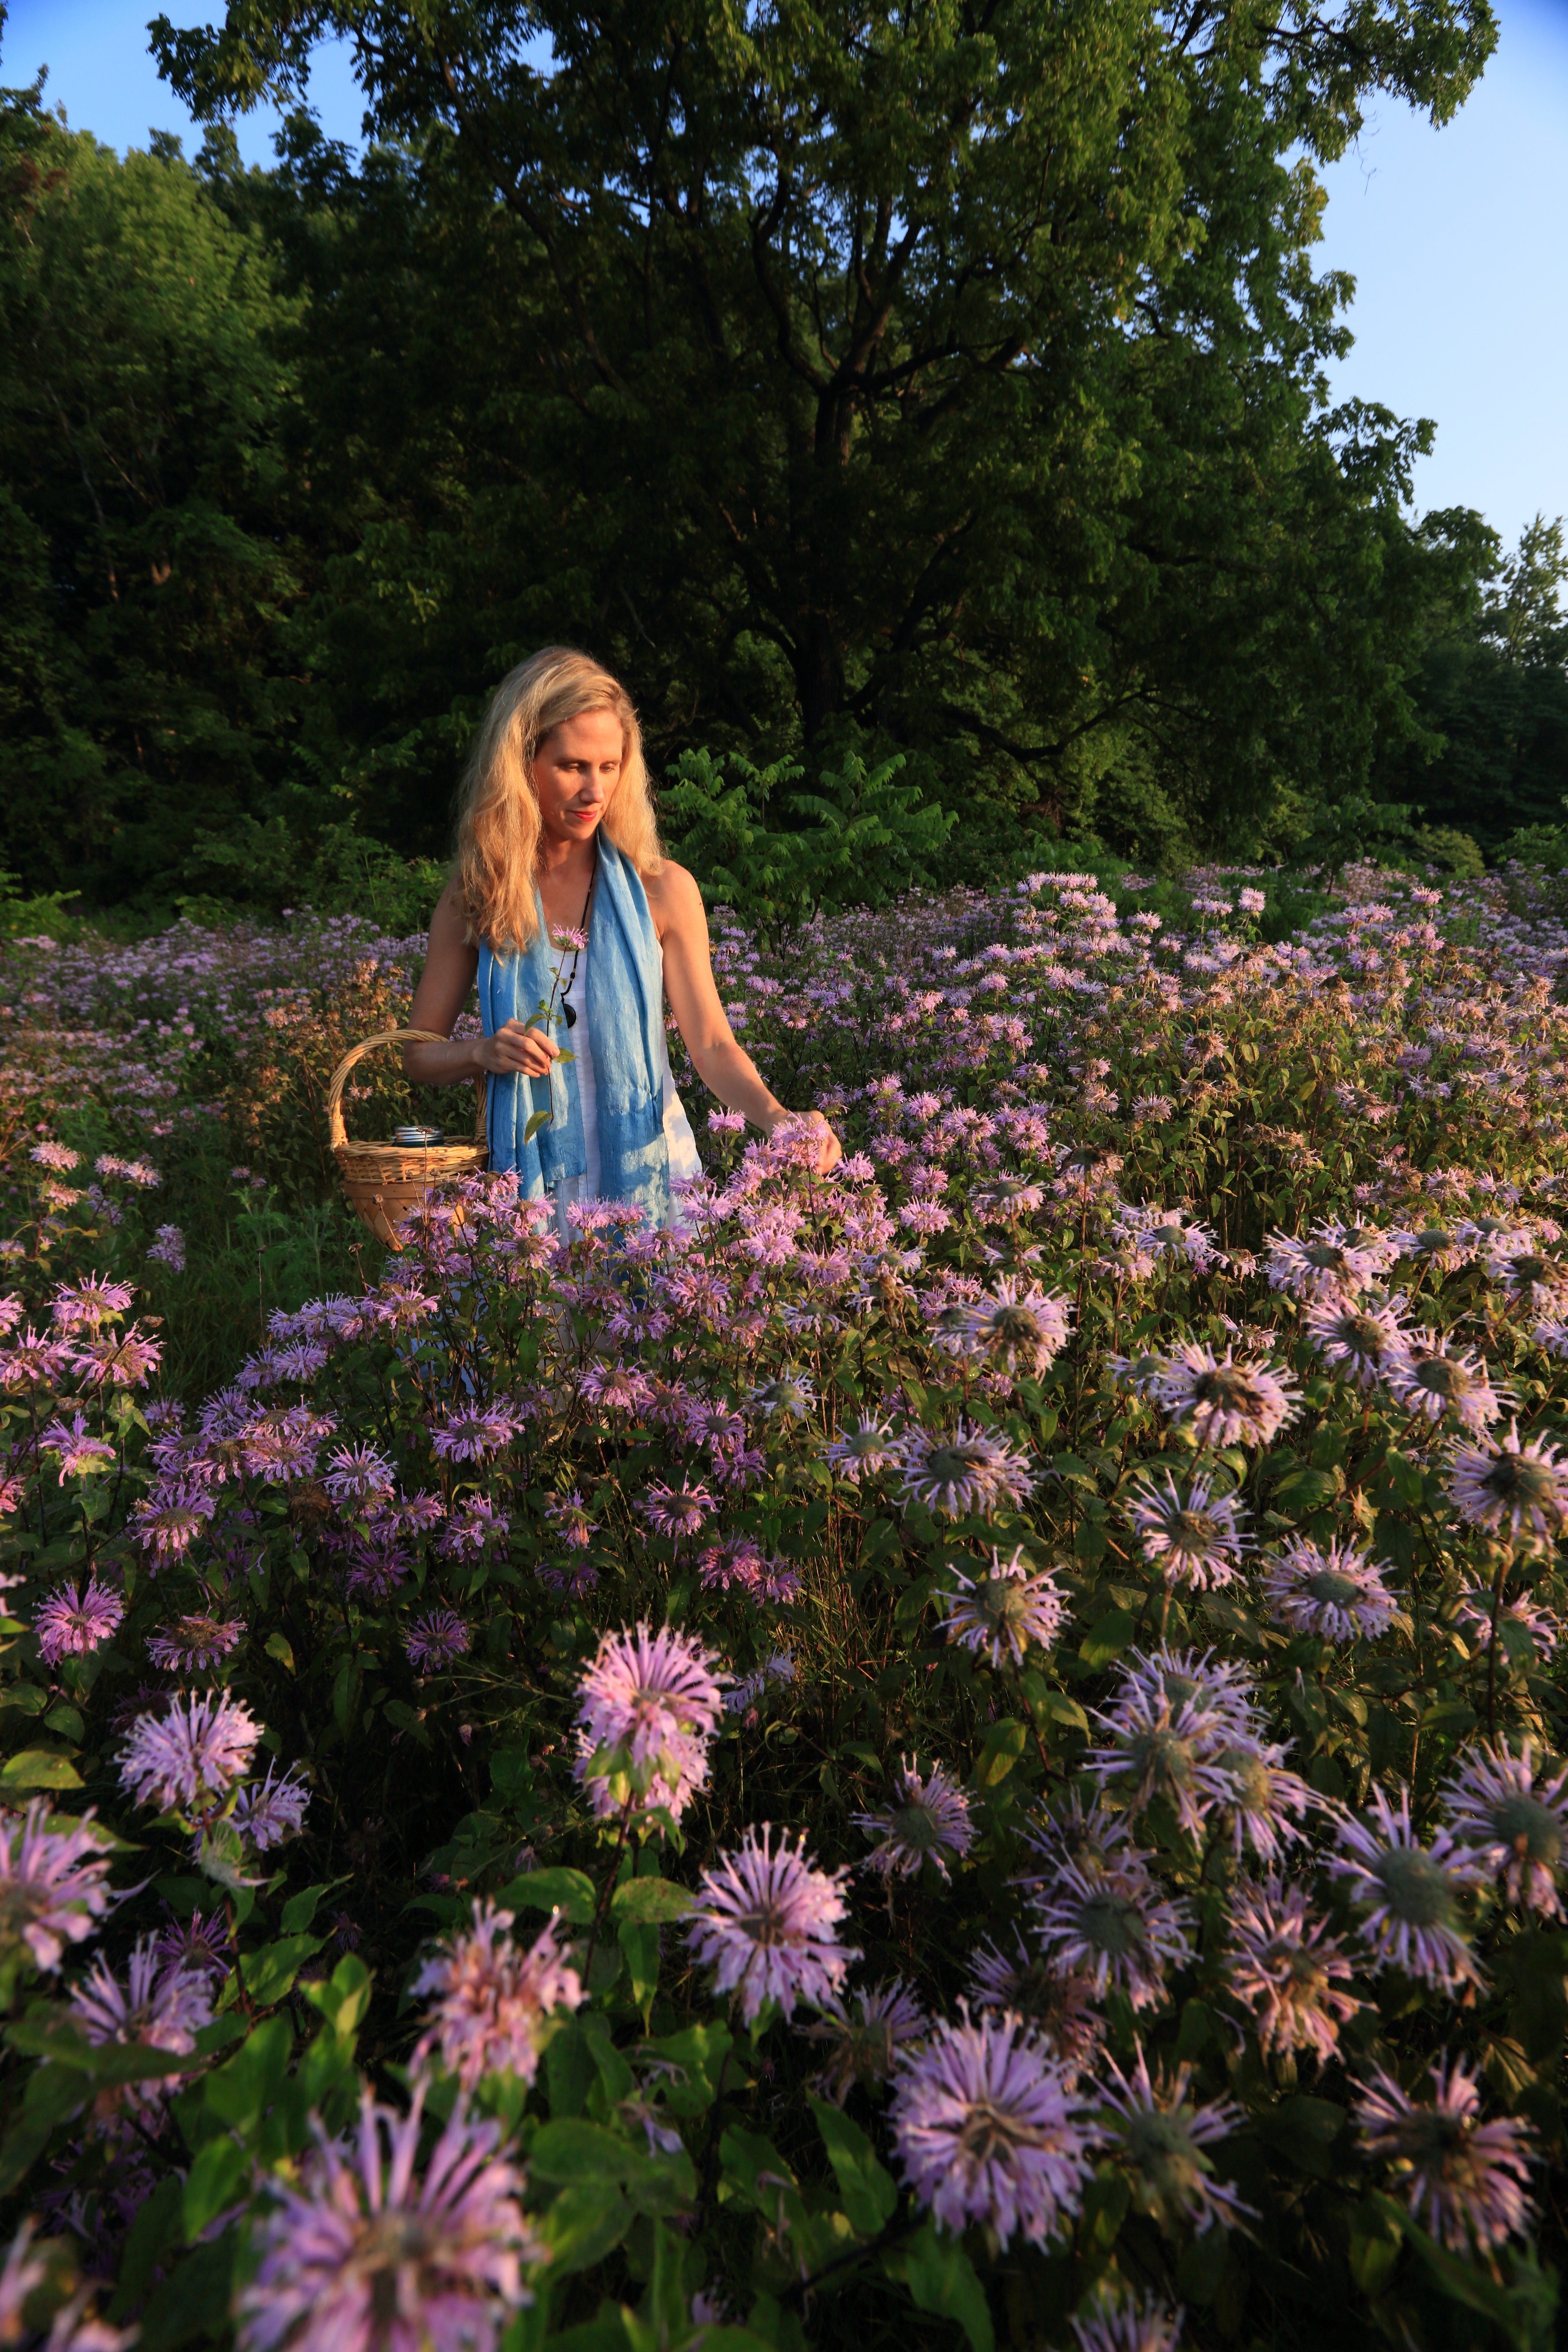
Location & Foraging. I haven’t had much luck finding Chaga in the immediate Grand Rapids area, so I usually head north to forage it, where it grows aplenty. Some local folks have also said that it’s abundant along the lakeshore in West Michigan — though while growing up, I cannot ever remember that being one of the mushrooms we hunted for growing up (that’s not to say it isn’t there — I am sure it is). Bring along a mallet or small hammer to help get the Chaga from the tree. It’s harder than you might think. Be sure to thank the tree when harvesting always…

Because chaga is becoming popular and has been qualified as a locavore superfood, sustainable and careful harvesting of the fungus is important. Practice mindful harvesting techniques and do not remove the entire fruiting body from the tree to ensure that the chaga will continue to grow and mature for future harvests. It can take up to a decade for chaga to regrow to a harvestable size.

Uses. I was first introduced to Chaga as it’s used in herbal medicine by herbalist and friend Jim McDonald, and fell in love with the taste, smell and texture of Chaga when I first experienced herbalist Margi Flint’s skin cream. Because of it’s history of use for cell regeneration and support for the immune system, I learned from Flint that she incorporates the Chaga into foods, teas, beverages, and into that skin cream of her’s. Not only have I fallen in love adding Chaga to all sorts of foods, but I have had fantastic luck with making herbal variations of Margi’s Chaga Cream to support the skin’s ability to regenerate healthy skin cells and ward off melanoma.

Taste. Chaga has this rich flavor profile not all that dissimilar to a dark chocolate. It pairs well adding it to boiled coffee, pasta sauces, chili recipes, mole sauces, peanut butter & chocolate smoothies and ice cream and chai.  Imagine slathering yourself with this wonderful emmolient cream that smells of chocolate and feels so nourishing… Oh, I digress again. That cream recipe is for another post.

Processing. To get the most from this mushroom, it needs to be powdered and ground, and then its medicine is best extracted in a long simmering decoction in water to make a tea.

Processing is super easy if you just go online and order pre-powdered Chaga from a reputable mushroom source. I have had great experience with Mushroom Harvest and highly recommend their products.  Not so easy if you are foraging your own Chaga.

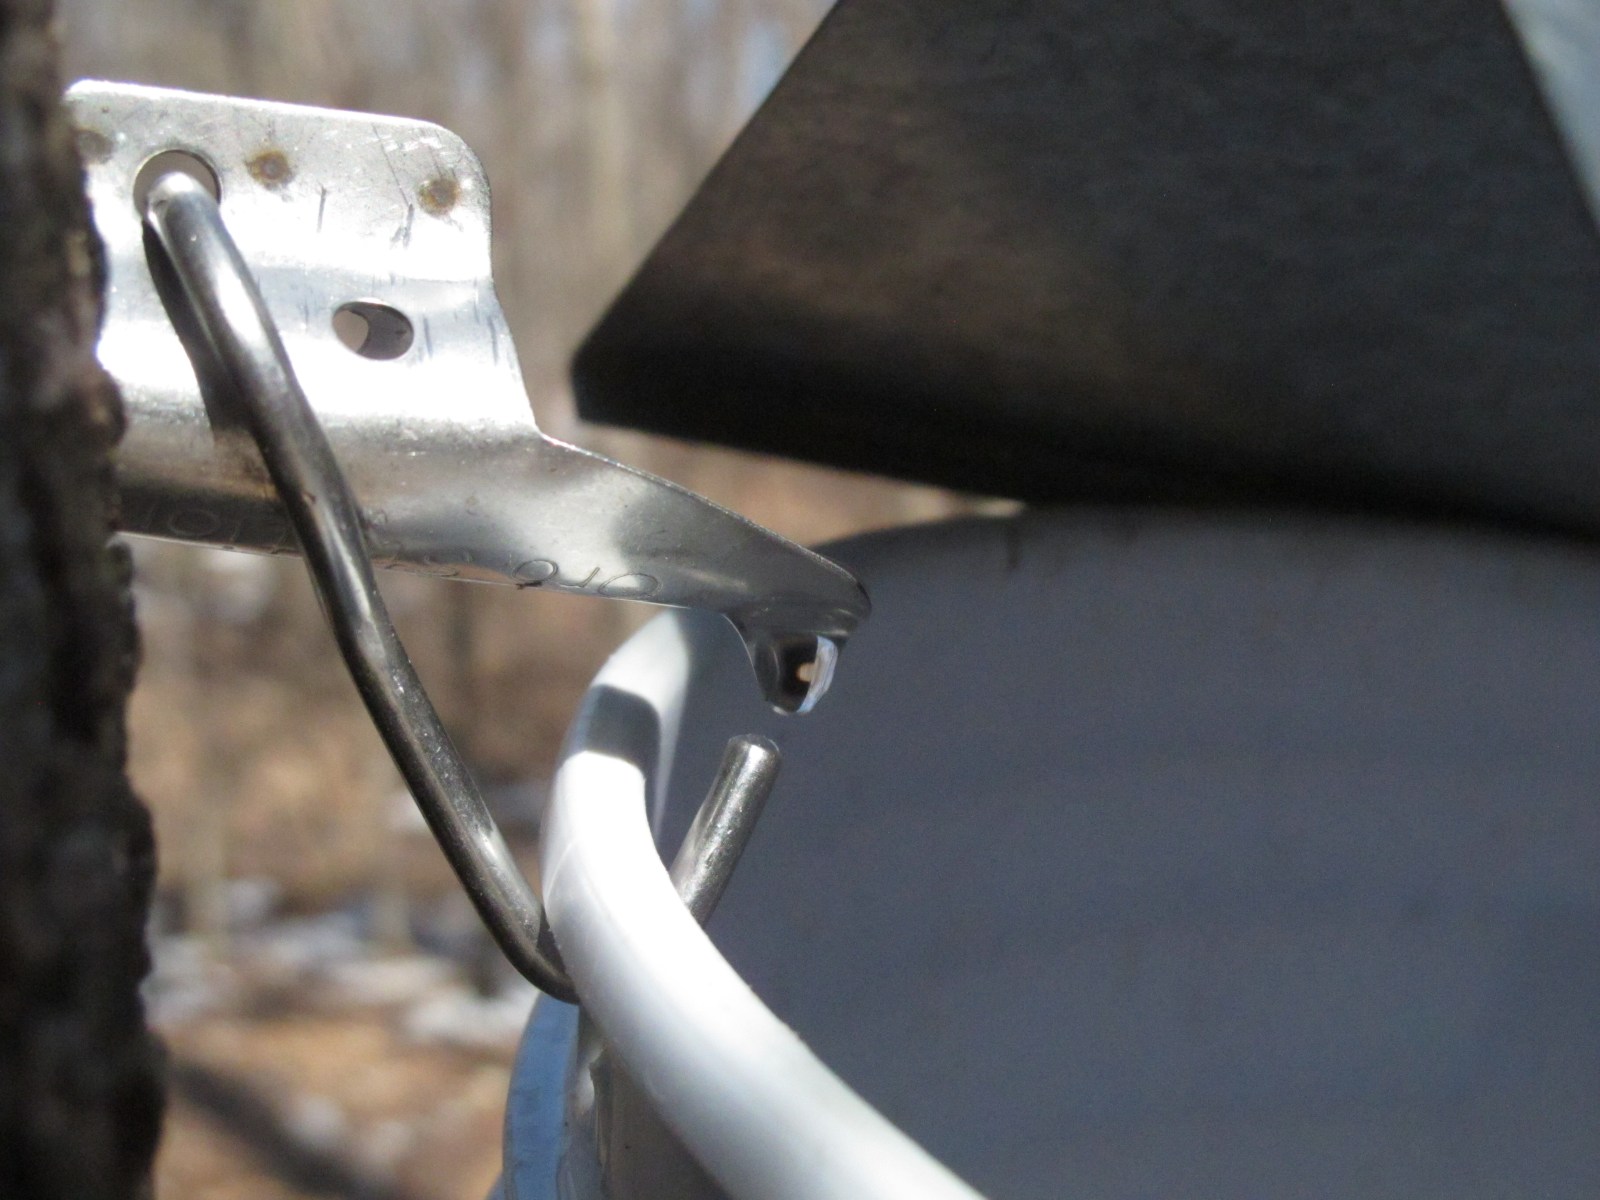
If you forage your own fresh Chaga off the Birch tree, Chaga is nearly impossible to process without the use of heavy stone tools, a hammer, and — I most recently l learned — a wood rasp to grind it down to a beautifully fine powder for infusions.

Don’t put whole Chaga pieces in your blender or spice grinder as it most likely will burn out your motor and screw up your blade (trust me on this one). If you are smashing it up, take care to use a sizable, durable mortar and pestle (once broken down into larger chunks).  Some say to remove the blackened exterior shell of the mushroom, but I just use the whole thing. You might want to wear protective eye-wear, too, lest you want chunks of flying Chaga in your eyeball (Safety first, right?).

Preparation. To make a Chaga infusion, add 1 part ground/powdered mushroom to 10 parts boiling water and then simmer for 20 minutes for a long extraction. Strain and consume. Make stovetop boiled coffee with it (yum). The infusion can be frozen for future use to cook foods like pastas, grains, nourishing infusions and bone broths. It can also be used as the waters in a cream recipe if you make your own skin cream.

The ground/powdered mushroom ~can~ also be added directly to a sauce or soup or smoothie (take care, though there are no large bits, lest you want to break a tooth by surprise). Some suggest a double extraction if you wish to make a tincture from a tea, but I haven’t used it this way and am not sure of the ratios. For my Chai, I add the ground mushroom to the final simmer of the herbs in the water. Or an infusion can be used to simmer the aromatics.

Lisa’s Masala Chai:

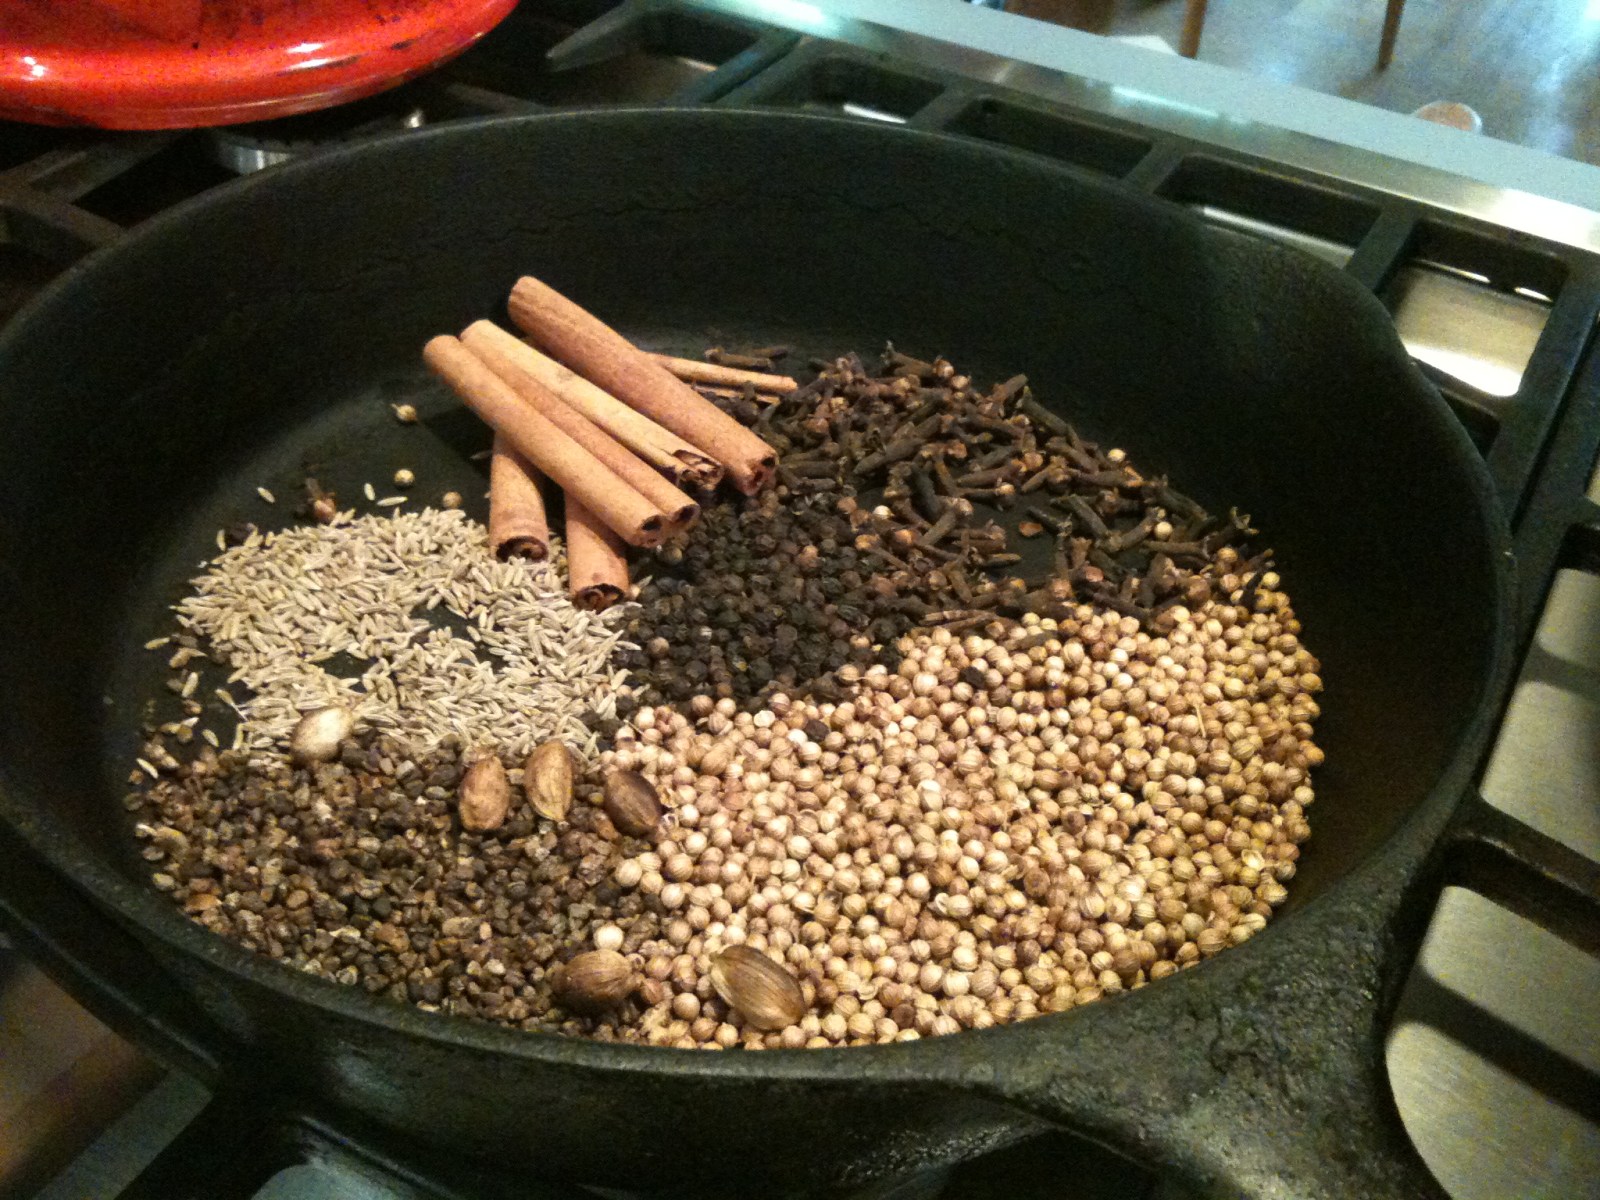
Masala Aromatics (for 2 quarts of Chai):

1 TBSP cinnamon

1 TBSP coriander

1 TBSP cloves

1/2 TBSP cumin

1/4 TBSP cardamon

1/4TBSP black pepper

1/4 TBSP dry ginger

I toss all these ingredients into an iron skillet and slightly toast them on the stove. I let the blend cool and add a dash of nutmeg, then grind when ready to make Chai. Because I make large batches of roasted Masala blend, I store it in a glass jar and then use about 5 tablespoons of herbs to grind and then make into Chai.   Pro-tip: This is the same blend you can use to make a Masala vegetable dishes. So it’s good to have a large batch on hand for more than just chai.. 😉

Simmering the Chai:

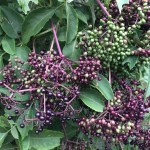
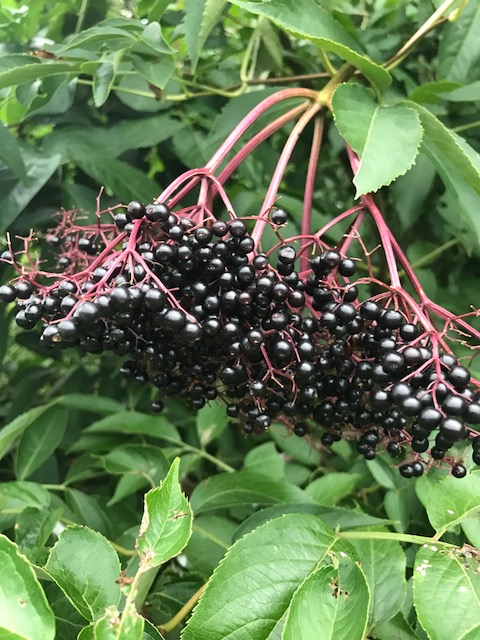
Add the Masala Blend, 2 TBSP of ground Chaga to a pot and cover with 2 quarts boiling water, simmer for 20 minutes. For a bit more local flavor, add in a few tablespoons of local SpiceBush Berries if you have some.

Remove from heat and add black tea (I like Lapsang Seuchong) if you wish. If your tea is added as loose leaf, I suggest that you strain the Chai into a thermos or teapot after about 2 minutes (the tea can turn your Chai very tannic if left to steep too long). If using a tea ball, just remove the tea after a few minutes.

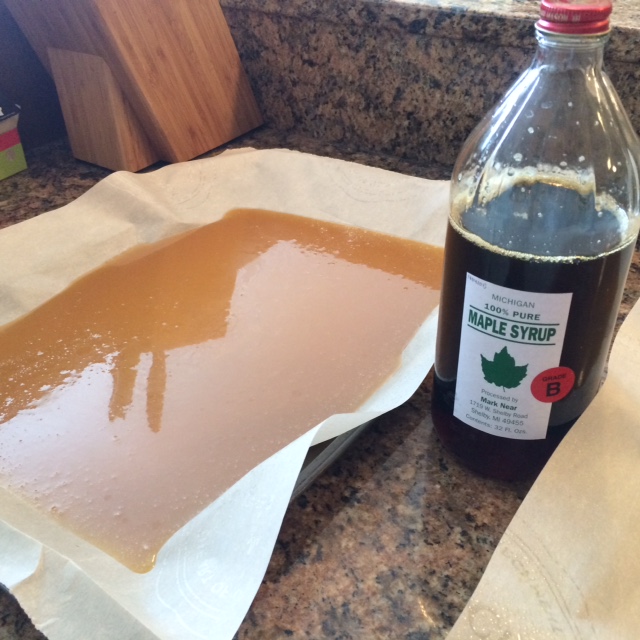
Sweeten the entire pot or by the glass with real maple syrup or honey. Yum. Add milk, too, if you like. Sip. Enjoy.

 ~~~~

Resources:

Processing Chaga video: I came across this interesting YouTube Video and thought I’d share. It demonstrates the use of a rasp.

More on Chaga from another Michigan WildCrafter

Kiva’s Chai Musings

Double extraction process for making a tincture with Chaga

For other Chai recipe ideas: FoodIly

To order bulk organic herbs, I frequently recommend Mountain Rose Herbs
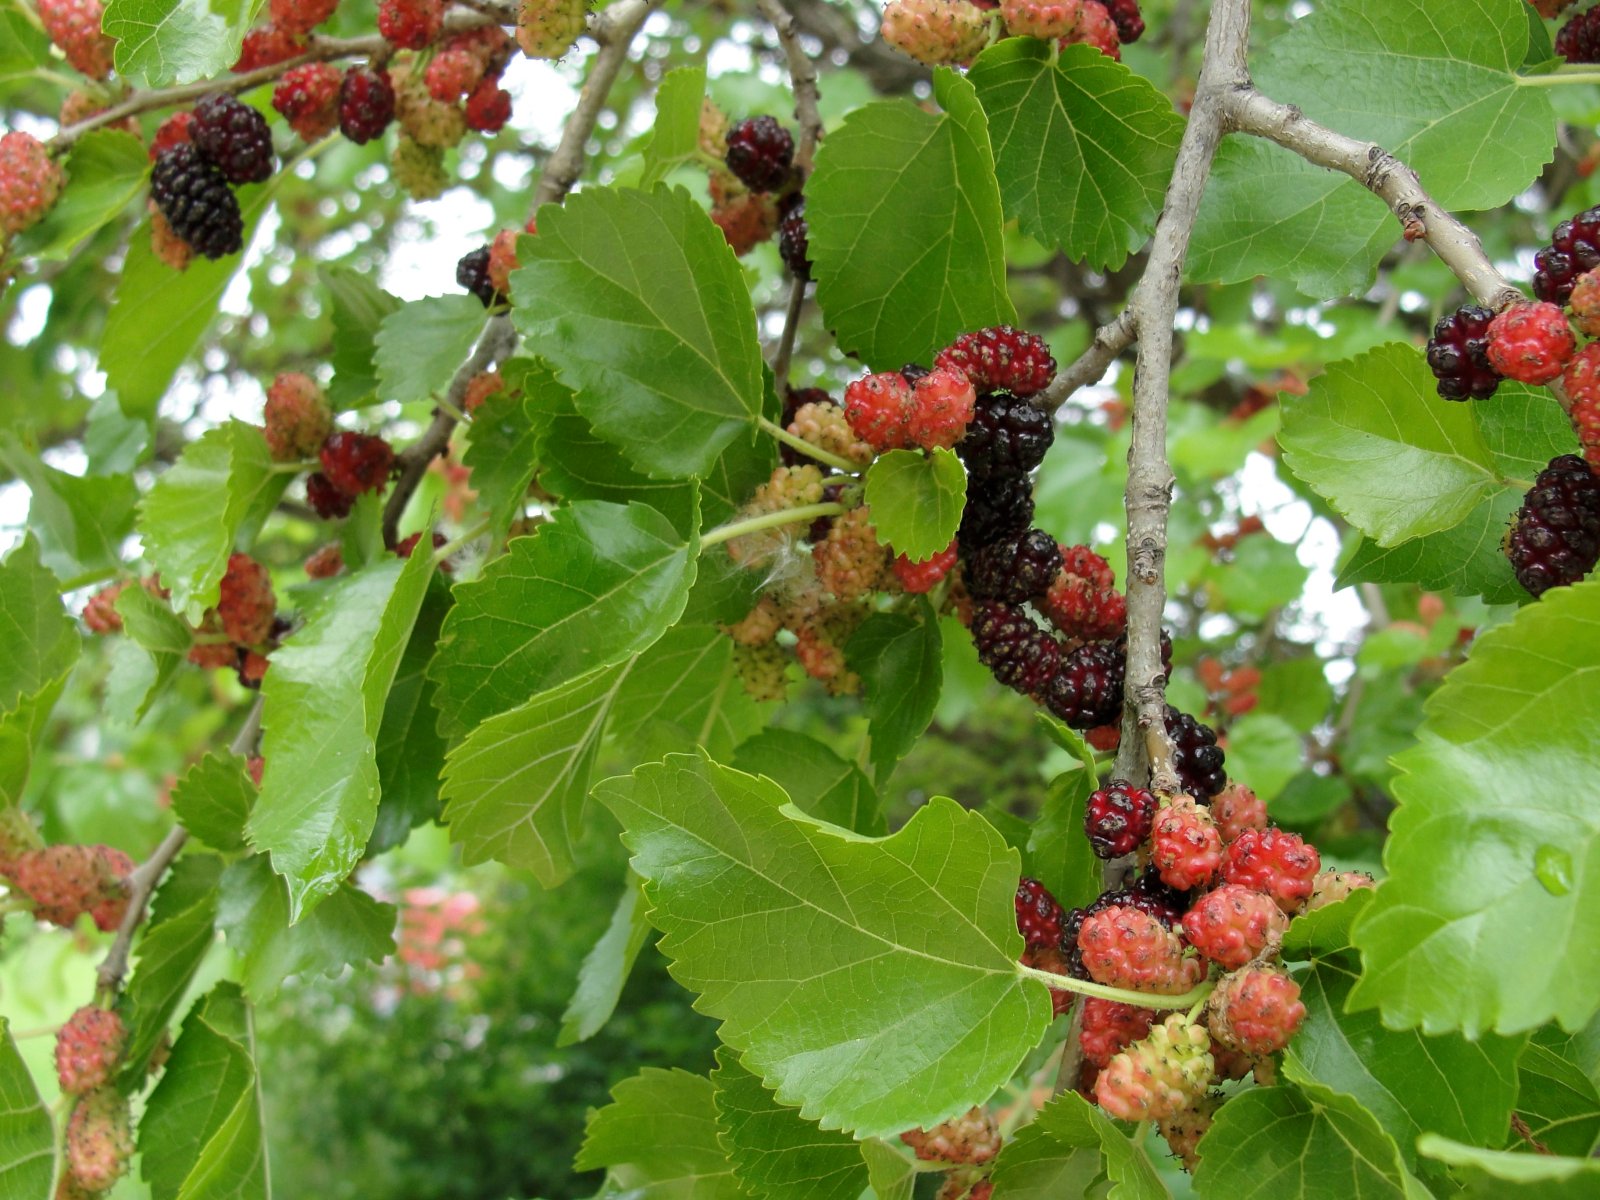
 

Lisa M. Rose in a field of wildflowers in Millineum Park.
Gathering wild bee balm for my well-known Gypsy Tea.

Sometimes when you feel a cold or a flu coming on, it’s easy to brush it off and keep pushing ahead. But when that little voice tells you that your body has caught a virus, heed its warning!  Learning when and how to use popular herbal remedies can help you prevent from getting stuck at the corner of sick and miserable!


Elderberry (Sambucus nigra)

Plant medicines like elderberry can help shorten the lifespan of a virus — If you know when and how to use them! If you listen to your body’s call, and try preparations of elderberry elixir within the first 48 hours of the start of a virus, medical research shows that symptoms that come from colds and flus can be lessened by as much as 4 days. (1) Now, that doesn’t mean you can just chug elderberry elixir and NOT rest. Of course not. Resting is a crucial part to the body’s healing process.

But how does elderberry work? Elderberry is not only filled with antioxidants and flavonoids useful for the body, but it stimulates the body’s inflammation response against the virus. By triggering the production of cytokines – the inflammatory and anti-inflammatory agents that regulate the body’s immune system – elderberry powers the immune system which then inhibits the virus’ ability to reproduce. (2)

Elderberry is most commonly prepared as a syrup of the fresh or dry berries. Elderberry (Sambucus nigra) syrup is easy to make (visit my recipe online), but if you don’t have time, make a trip to your local health food shop to stock up, or better yet – support this local herbalist by stocking up with her elderberry elixir blends!! (Hint, hint) So at those first signs of illness – down that elderberry syrup in large tablespoon doses!


Gypsy Tea: Echinacea, Mints, Yarrow & Elderflower

While downing tablespoons of elderberry when I start to get sick, you will also find me making pots of my favorite tea traditionally known as Gypsy Tea- a formula that goes back generations. Gypsy Tea is a tea blend of aromatic mints (I prefer the wild bee balm, Monarda fistulosa), the bitter yarrow, and the relaxant elderflowers. I also add in echinacea for its additional immune boosting power, and sometimes garden herbs like sage and thyme for extra aromatics.

Gypsy Tea is also a great base in which to add honey and your elderberry elixir!To make your own Gypsy Tea, these herbs can be foraged from the wild, or you can procure your own herbs from a reputable forager or an online source like Mountain Rose Herbs.

Gypsy Tea Ingredients:

1 Part Yarrow (Achillea millefolium)

2 Parts Elderflower (Sambucus nigra)

2 Parts Bee Balm (Monarda spp) or Peppermint

1 Part Echinacea (Echiancea spp)

Directions: Add herbal ingredients to a french press or directly to a pot of boiling water. Cover, let steep for 5 minutes and drink hot. And like Grandma always says, Put on a hat!  Cover the body, keep it warm, take to bed and REST. If you really are feeling crummy, consider making a large thermos of tea to keep hot by the bedside – this will help you to stay in bed and support the body’s immune system as it works on staying well.

IMG_6451
Even herbalists get sick.

It’s easy to forget how to care for yourself once a virus settles in and your body begins to ache. Be prepared! Have on hand the ingredients you need to care for yourself allows your body to rest and fight off the virus. And remember to have a backup friend to rely on when you are at the corner of sick and miserable – even if it’s your golden retriever.

For more tips on making a plan for Cold & Flu season, click HERE.

A Few Other Good Links & Resources:

– Darcey Blue on Flu

– Todd Caldecott’s Ayurvedic approach to Colds & Flu 

–  7 Song’s Materia Medica for Colds & Flu

— Paul Bergner on Vitamin D

Footnotes:

1)  “Randomized study of the efficacy and safety of oral elderberry extract in the treatment of influenza A and B virus infections.” J Int Med Res. 2004 Mar-Apr;32(2):132-40.

2) “The effect of Sambucol, a black elderberry-based, natural product, on the production of human cytokines: I. Inflammatory cytokines” Eur Cytokine Netw. 2001 Apr-Jun;12(2):290-6